Monitoring Experiment Through Webhooks#
Monitoring experiment status is a vital part of working with Determined. In order to integrate Determined into your existing workflows, you can make use of webhooks to update other systems, receive emails, slack messages, and more when an experiment is updated.
Security and Signed Payload#
Each webhook request will include a signed payload that users can use to verify that webhook calls
from Determined are genuine. This will require that users define a webhook_signing_key for
signing. If a webhook signing key is not provided then one will be generated for the user.
Setting the Key#
The signing key can be set in the following ways:
In the master yaml configuration file by adding:
webhooks:
   signing_key: <signing_key>
By setting a
DET_WEBHOOKS_SIGNING_KEYenvironment variable.By specifying a
---security-webhooks-signing-keyflag.
Retrieving the Key#
The key can be found in the cluster configuration. For example it will be returned in
api/v1/master/config.
Event Payload#
Currently we support two types of webhooks: Slack and Default. A payload for a Default
webhook will contain information about the event itself, the trigger for the event, and the entity
that triggered the event. The shape of event_data is determined by event_type. Below is an
example payload for EXPERIMENT_STATE_CHANGE; other types may be structured differently.
{
  "event_id": "4cd26e62-60c6-4a8b-8d03-7629091a4ef5",   // unique event UUID
  "event_type": "EXPERIMENT_STATE_CHANGE", // the trigger type for the event
  "timestamp": 1665689991, // the timestamp of the event occurrence
  "condition": {
    "state": "COMPLETED" // the condition that triggered the event; for now the condition will always be of this format and contain either "COMPLETED" or "ERRORED"
  },
  "event_data": {
    "experiment": {
      "id": 41,
      "state": "COMPLETED",
      "name": "cifar10_pytorch_const",
      "slots_per_trial": 2,
      "duration": 41, // experiment duration measured in seconds
      "resource_pool": "default",
      "workspace": "test workspace", // experiment workspace name
      "project": "test project" // experiment project name
   }
  }
}
Signed Payload#
For every webhook request Determined will generate two headers, X-Determined-AI-Signature and
X-Determined-AI-Signature-Timestamp, which can be used to verify each request to a webhook
endpoint.
The
X-Determined-AI-Signature-Timestampwill represent the time at which the request was generated and sent. You can choose to inspect this timestamp and decide whether to discard any requests with a timestamp that is too distant from the current time.The
X-Determined-AI-Signaturewill be a representation of a “signed” request payload. The signed request payload will be generated in the following way:Combine the timestamp in
X-Determined-AI-Signature-Timestamp, the comma character “,” and the request body, which will be the entire event payload.Create an HMAC using SHA256 hashing, with the
webhook_signing_keyand the event payload from previous step.
You can then check to make sure the
X-Determined-AI-Signatureheader value and the generated signed payload match.
Below is an example of handling a signed payload in Python.
import hashlib, hmac, json

# User-defined function to authenticate webhook requests
def authenticate_webhook_request(request_body, request_headers, webhook_signing_key):
    timestamp = request_headers["X-Determined-AI-Signature-Timestamp"]
    signed_payload = request_headers["X-Determined-AI-Signature"]
    request_body = json.dumps(separators=(",", ":"), obj=json.loads(request_body))
    calculated_signed_payload = hmac.new(
        webhook_signing_key.encode(),
        f"{timestamp},{request_body}".encode(),
        digestmod=hashlib.sha256,
    ).hexdigest()
    return calculated_signed_payload == signed_payload
Note
The request body in the function shown above will be the JSON payload from the request. Ensure that the JSON payload does not contain spaces between keys and their values when creating the signed payload. For example “{“key_one”: “value_one”}” will fail authentication, while “{“key_one”:”value_one”}” will yield the correct signed payload value.
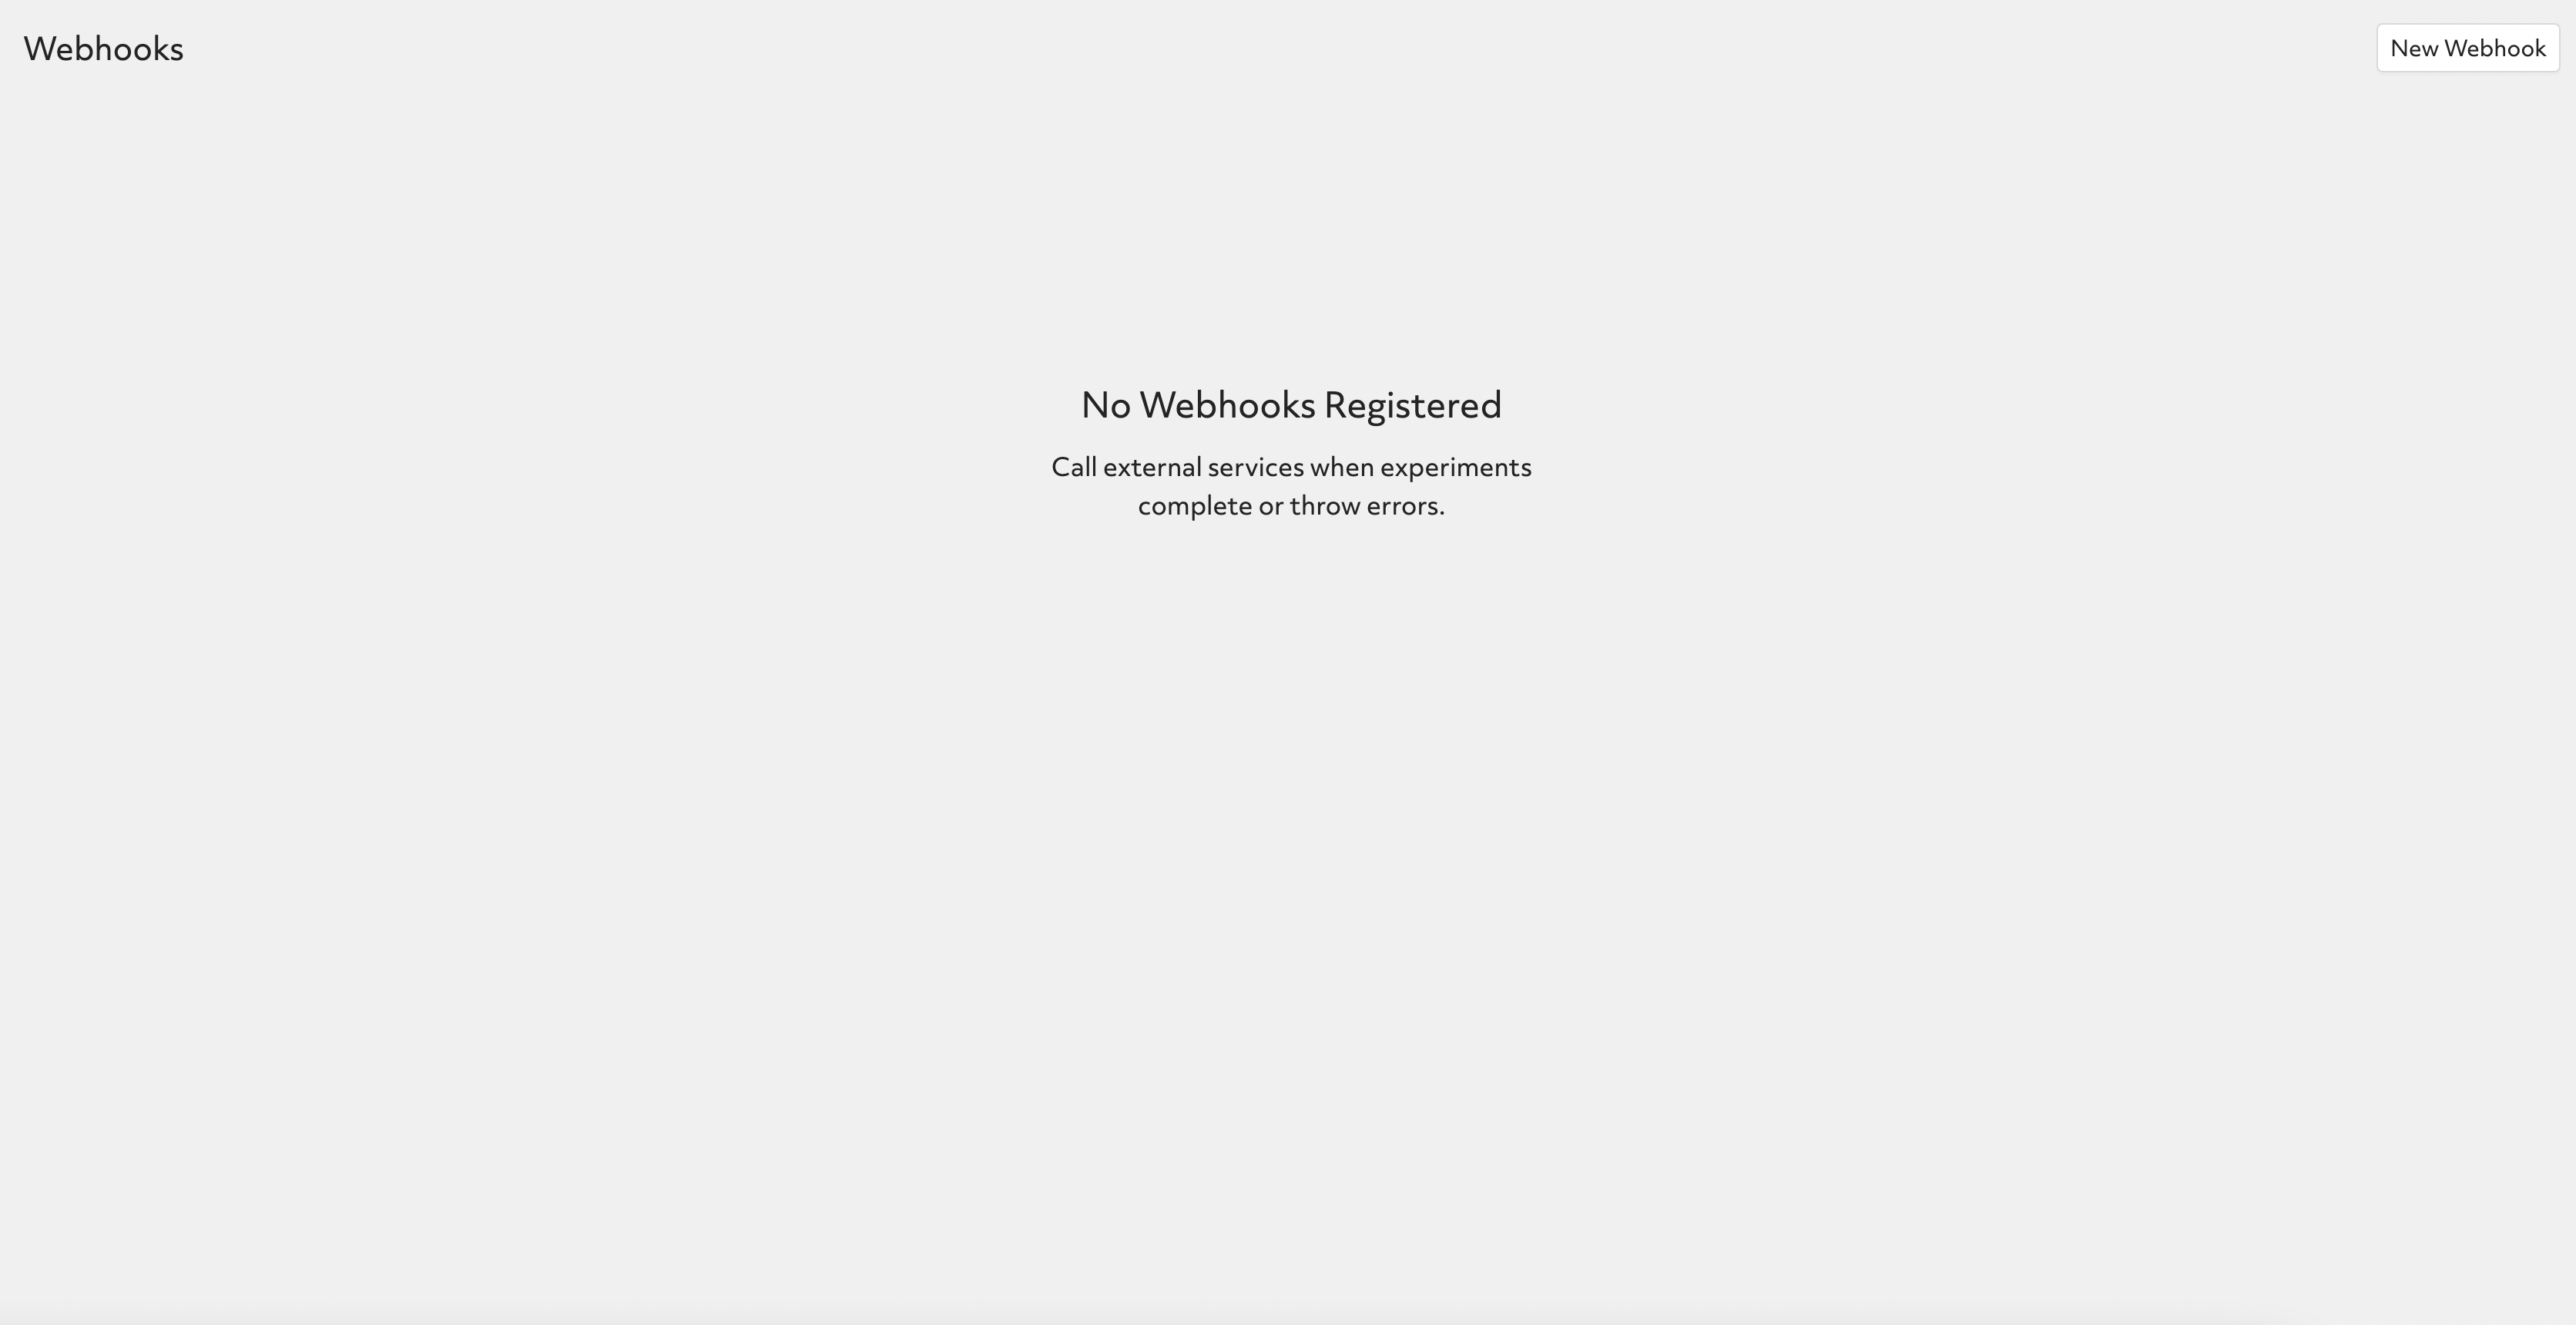
Creating Webhooks#
To create a webhook, navigate to /det/webhooks or click on the “Webhooks” item in navigation
side menu, and click on the top right corner button “New Webhook”.
Note
You must have the relevant permission to be able to view this page. Consult a system admin if you are unsure about your permissions.
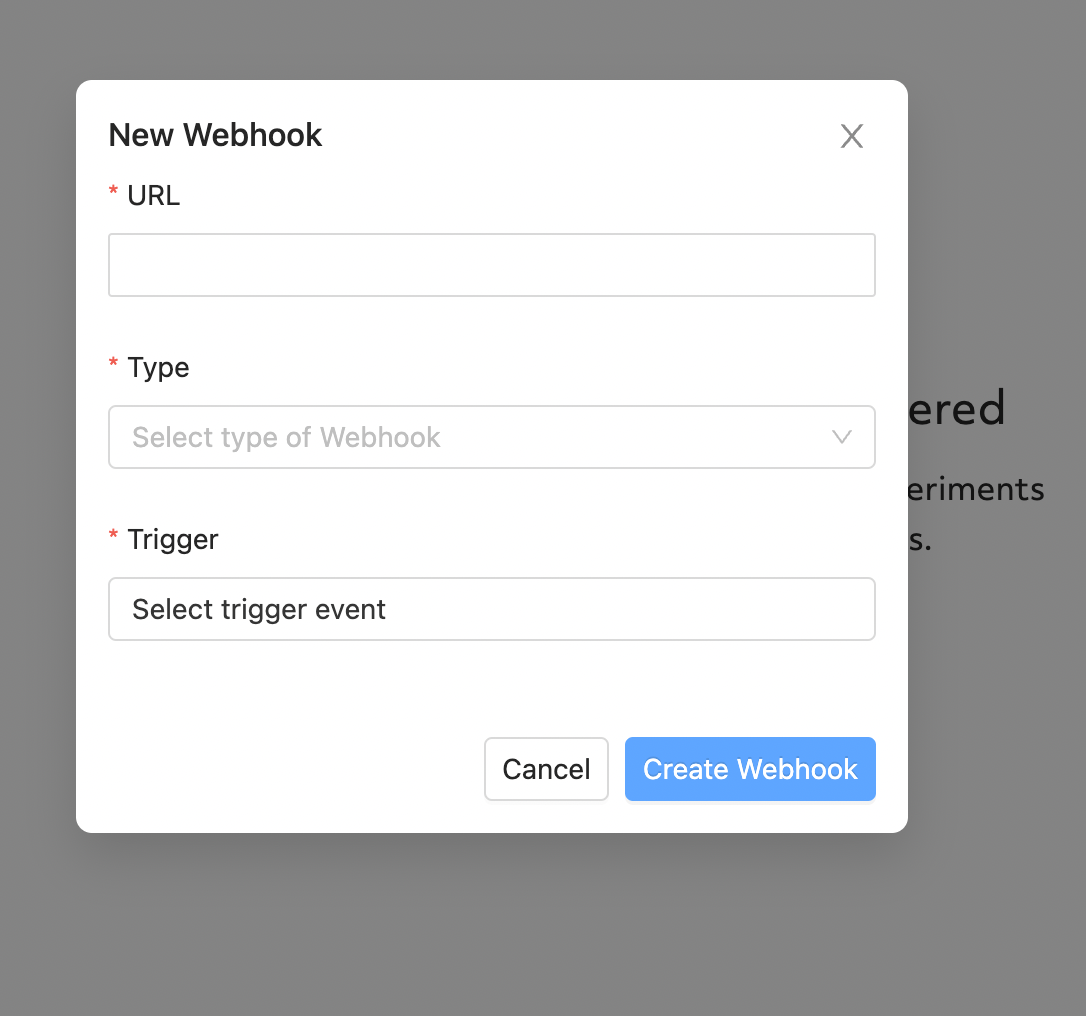
At the modal input:
URL: webhook URL.
Type:
DefaultorSlack. TheSlacktype can automatically format message content for better readability on Slack.Trigger: the experiment state change you want to monitor, either
CompletedorError.
Once created, your webhook will begin executing for the chosen events.
Testing Webhooks#
To test a webhook, click on the triple dots on the right of webhook record to expand available actions.
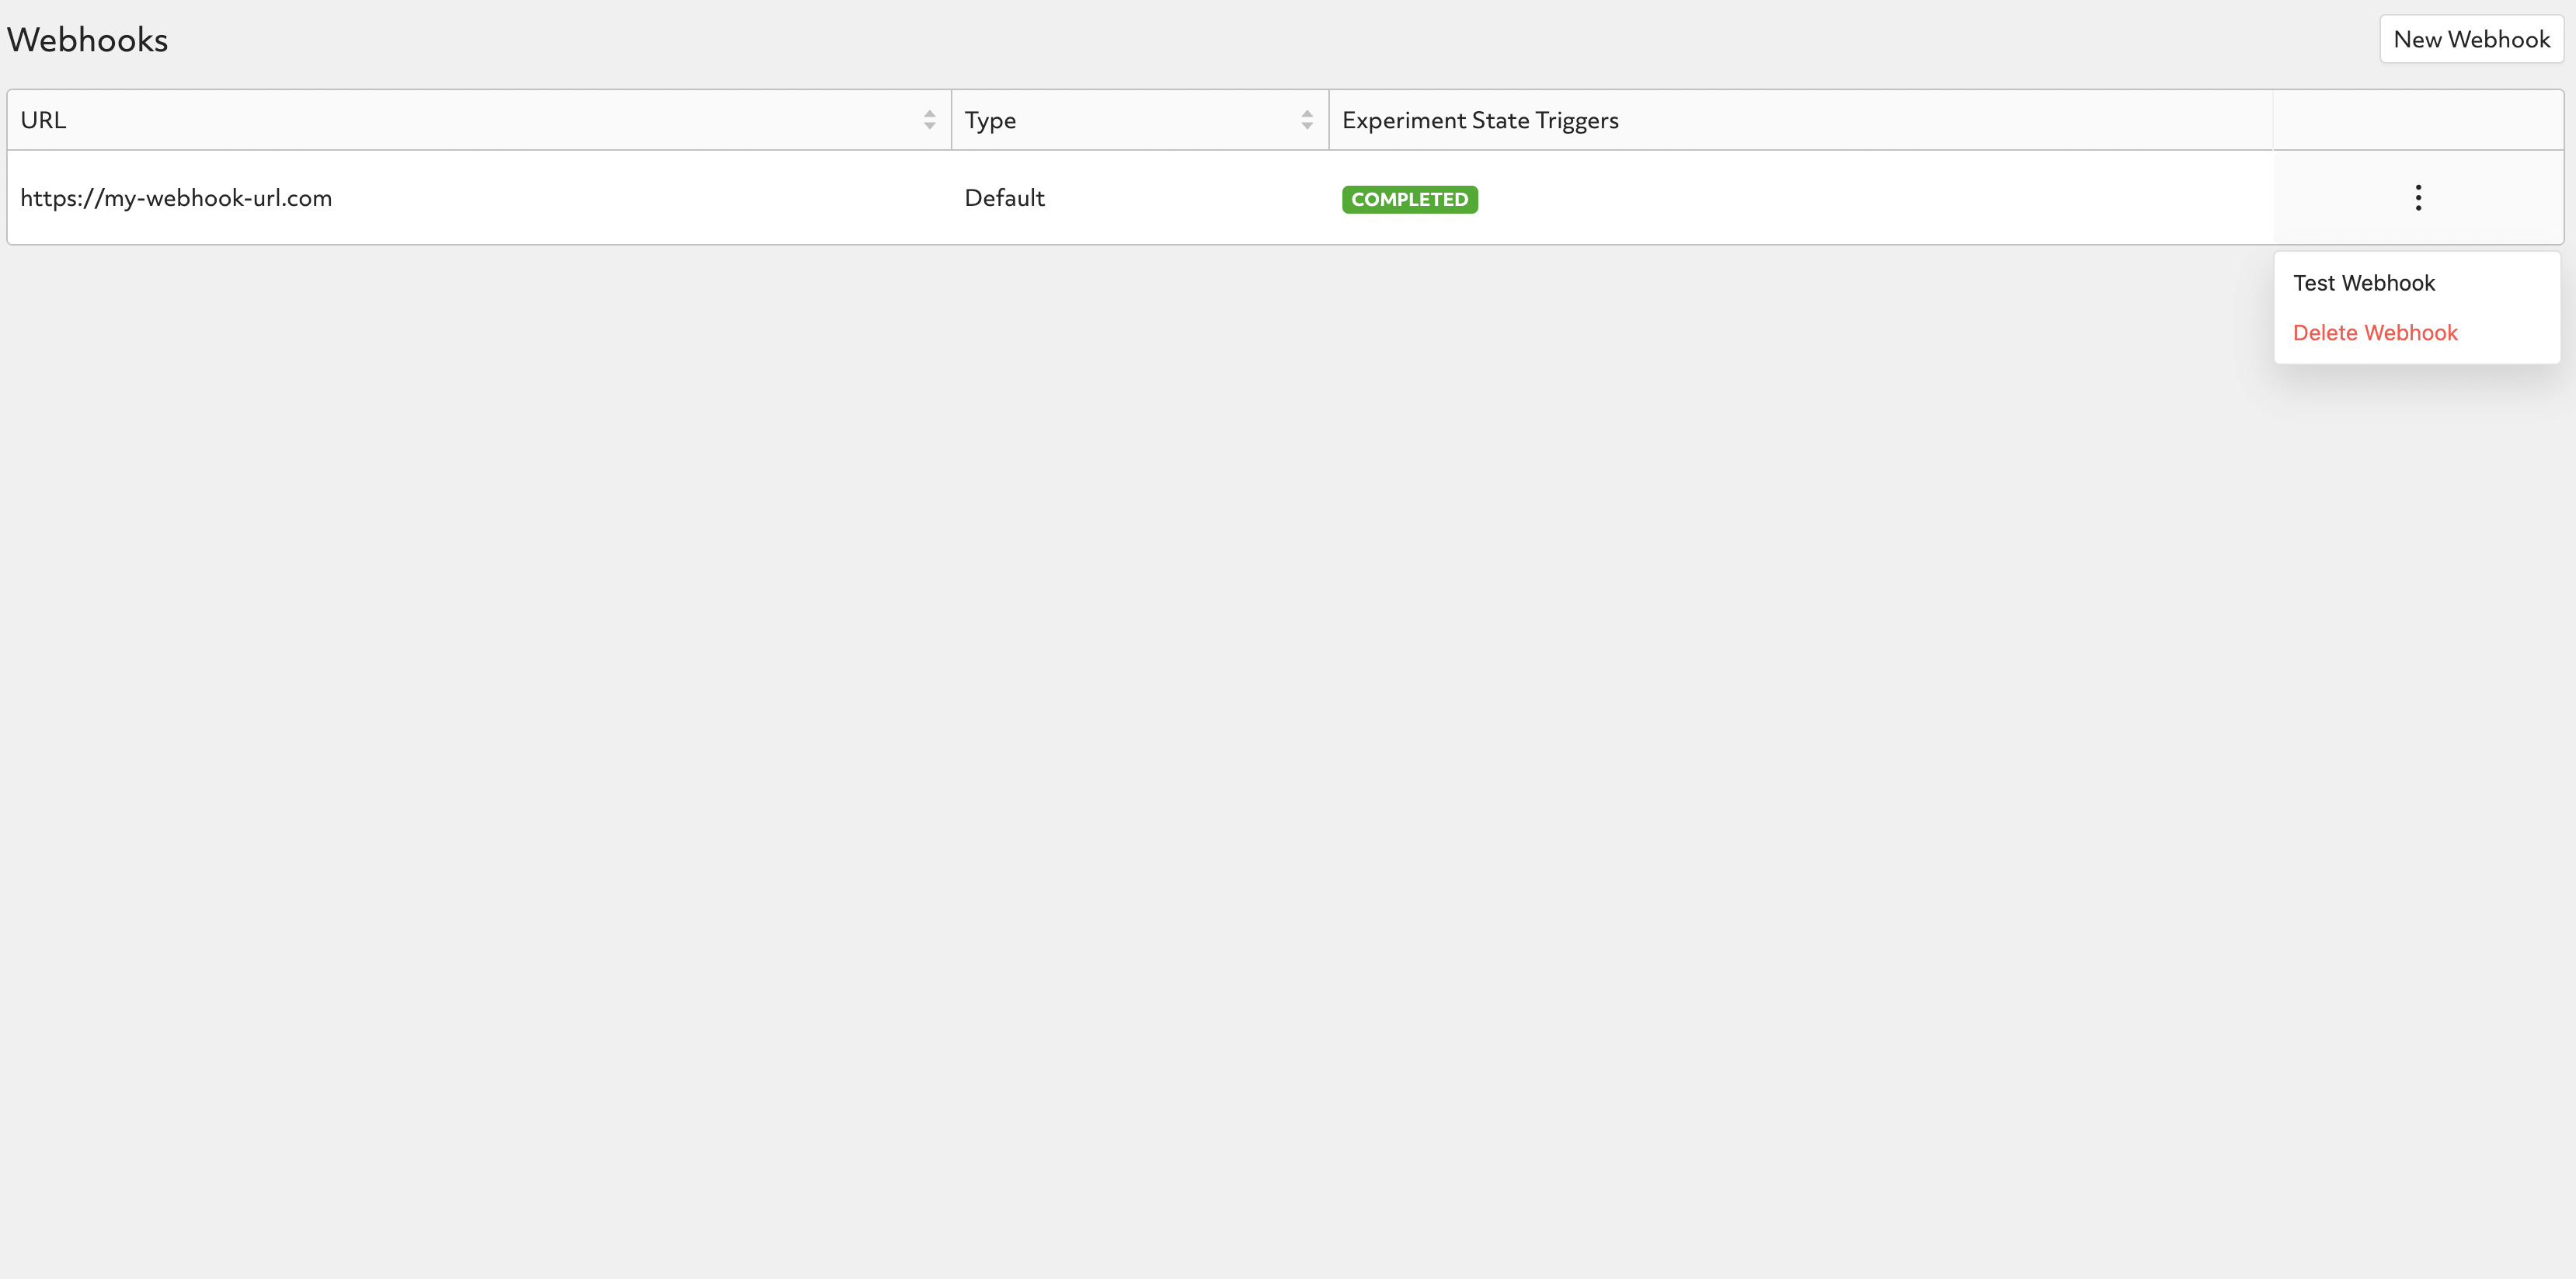
Clicking on “Test Webhook” will trigger a test event to be sent to the defined webhook URL with a mock payload as stated below:
{
   "event_id": "b8667b8a-e14d-40e5-83ee-a64e31bdc5f4",
   "event_type": "EXPERIMENT_STATE_CHANGE",
   "timestamp": 1665695871,
   "condition": {
      "state": "COMPLETED"
   },
   "event_data": {
      "data": "test"
   }
}
Deleting Webhooks#
To delete a webhook, click on the triple dots on the right of webhook record to expand available actions.
Note
We do not support editing webhooks. You can delete and recreate webhooks if needed.