Notebooks
Jupyter Notebooks are a convenient way to develop and debug machine learning models, visualize the behavior of trained models, or even manage the training lifecycle of a model manually. Determined makes it easy to launch and manage notebooks.
Determined Notebooks have the following benefits:
Jupyter Notebooks run in containerized environments on the cluster. We can easily manage dependencies using images and virtual environments. The HTTP requests are passed through the master proxy from and to the container.
Jupyter Notebooks are automatically terminated if they are idle for a configurable duration to release resources. Notebooks are considered busy when there are running terminals and kernels and active HTTP traffic.
Warning
Once a Notebook is terminated, it is not possible to restore the files that are not stored in the persistent directories. You need to ensure that the cluster is configured to mount persistent directories into the container and save files in the persistent directories in the container. See Saving and Restoring Notebook State for more information.
Working with Notebooks
There are two ways to access notebooks in Determined: the command-line interface (CLI) and the WebUI. To install the CLI, see Installation.
Command Line
The following command will automatically start a notebook with a single GPU and open it in your browser.
$ det notebook start
Scheduling notebook unique-oyster (id: 5b2a9ea4-a6bb-4d2b-b42b-25e4064a3220)...
[DOCKER BUILD 🔨] Step 1/11 : FROM nvidia/cuda:9.0-cudnn7-runtime-ubuntu16.04
[DOCKER BUILD 🔨]
[DOCKER BUILD 🔨]  ---> 9918ba890dca
[DOCKER BUILD 🔨] Step 2/11 : RUN rm /etc/apt/sources.list.d/*
...
[DOCKER BUILD 🔨] Successfully tagged nvidia/cuda:9.0-cudnn7-runtime-ubuntu16.04-73bf63cc864088137a477ce62f39ffe8
[Determined] 2019-04-04T17:53:22.076591700Z [I 17:53:22.075 NotebookApp] Writing notebook server cookie secret to /root/.local/share/jupyter/runtime/notebook_cookie_secret
[Determined] 2019-04-04T17:53:23.067911400Z [W 17:53:23.067 NotebookApp] All authentication is disabled.  Anyone who can connect to this server will be able to run code.
[Determined] 2019-04-04T17:53:23.073644300Z [I 17:53:23.073 NotebookApp] Serving notebooks from local directory: /
disconnecting websocket
Jupyter Notebook is running at: http://localhost:8080/proxy/5b2a9ea4-a6bb-4d2b-b42b-25e4064a3220-notebook-0/lab/tree/Notebook.ipynb?reset
After the notebook has been scheduled onto the cluster, the Determined CLI will open a web browser
window pointed to that notebook’s URL. Back in the terminal, you can use the det notebook list
command to see that this notebook is one of those currently RUNNING on the Determined cluster:
$ det notebook list
 Id                                   | Entry Point                                            | Registered Time              | State
--------------------------------------+--------------------------------------------------------+------------------------------+---------
 0f519413-2411-4b3c-adbc-9b1b60c96156 | ['jupyter', 'notebook', '--config', '/etc/jupyter.py'] | 2019-04-04T17:52:48.1961129Z | RUNNING
 5b2a9ea4-a6bb-4d2b-b42b-25e4064a3220 | ['jupyter', 'notebook', '--config', '/etc/jupyter.py'] | 2019-04-04T17:53:20.387903Z  | RUNNING
 66da599e-62d2-4c2d-91c4-01a04045e4ab | ['jupyter', 'notebook', '--config', '/etc/jupyter.py'] | 2019-04-04T17:52:58.4573214Z | RUNNING
The --context option adds a folder or file to the notebook environment, allowing its contents to
be accessed from within the notebook.
det notebook start --context folder/file
The --config-file option can be used to create a notebook with an environment specified by a
configuration file.
det notebook start --config-file config.yaml
For more information on how to write the notebook configuration file, see Notebook Configuration.
Other Useful Commands
A full list of notebook-related commands can be found by running:
det notebook --help
To view all running notebooks:
det notebook list
To kill a notebook, you need its ID, which can be found using the list command.
det notebook kill <id>
WebUI
Notebooks can also be started from the WebUI. You can click the “Tasks” tab to take you to a list of the tasks currently running on the cluster.
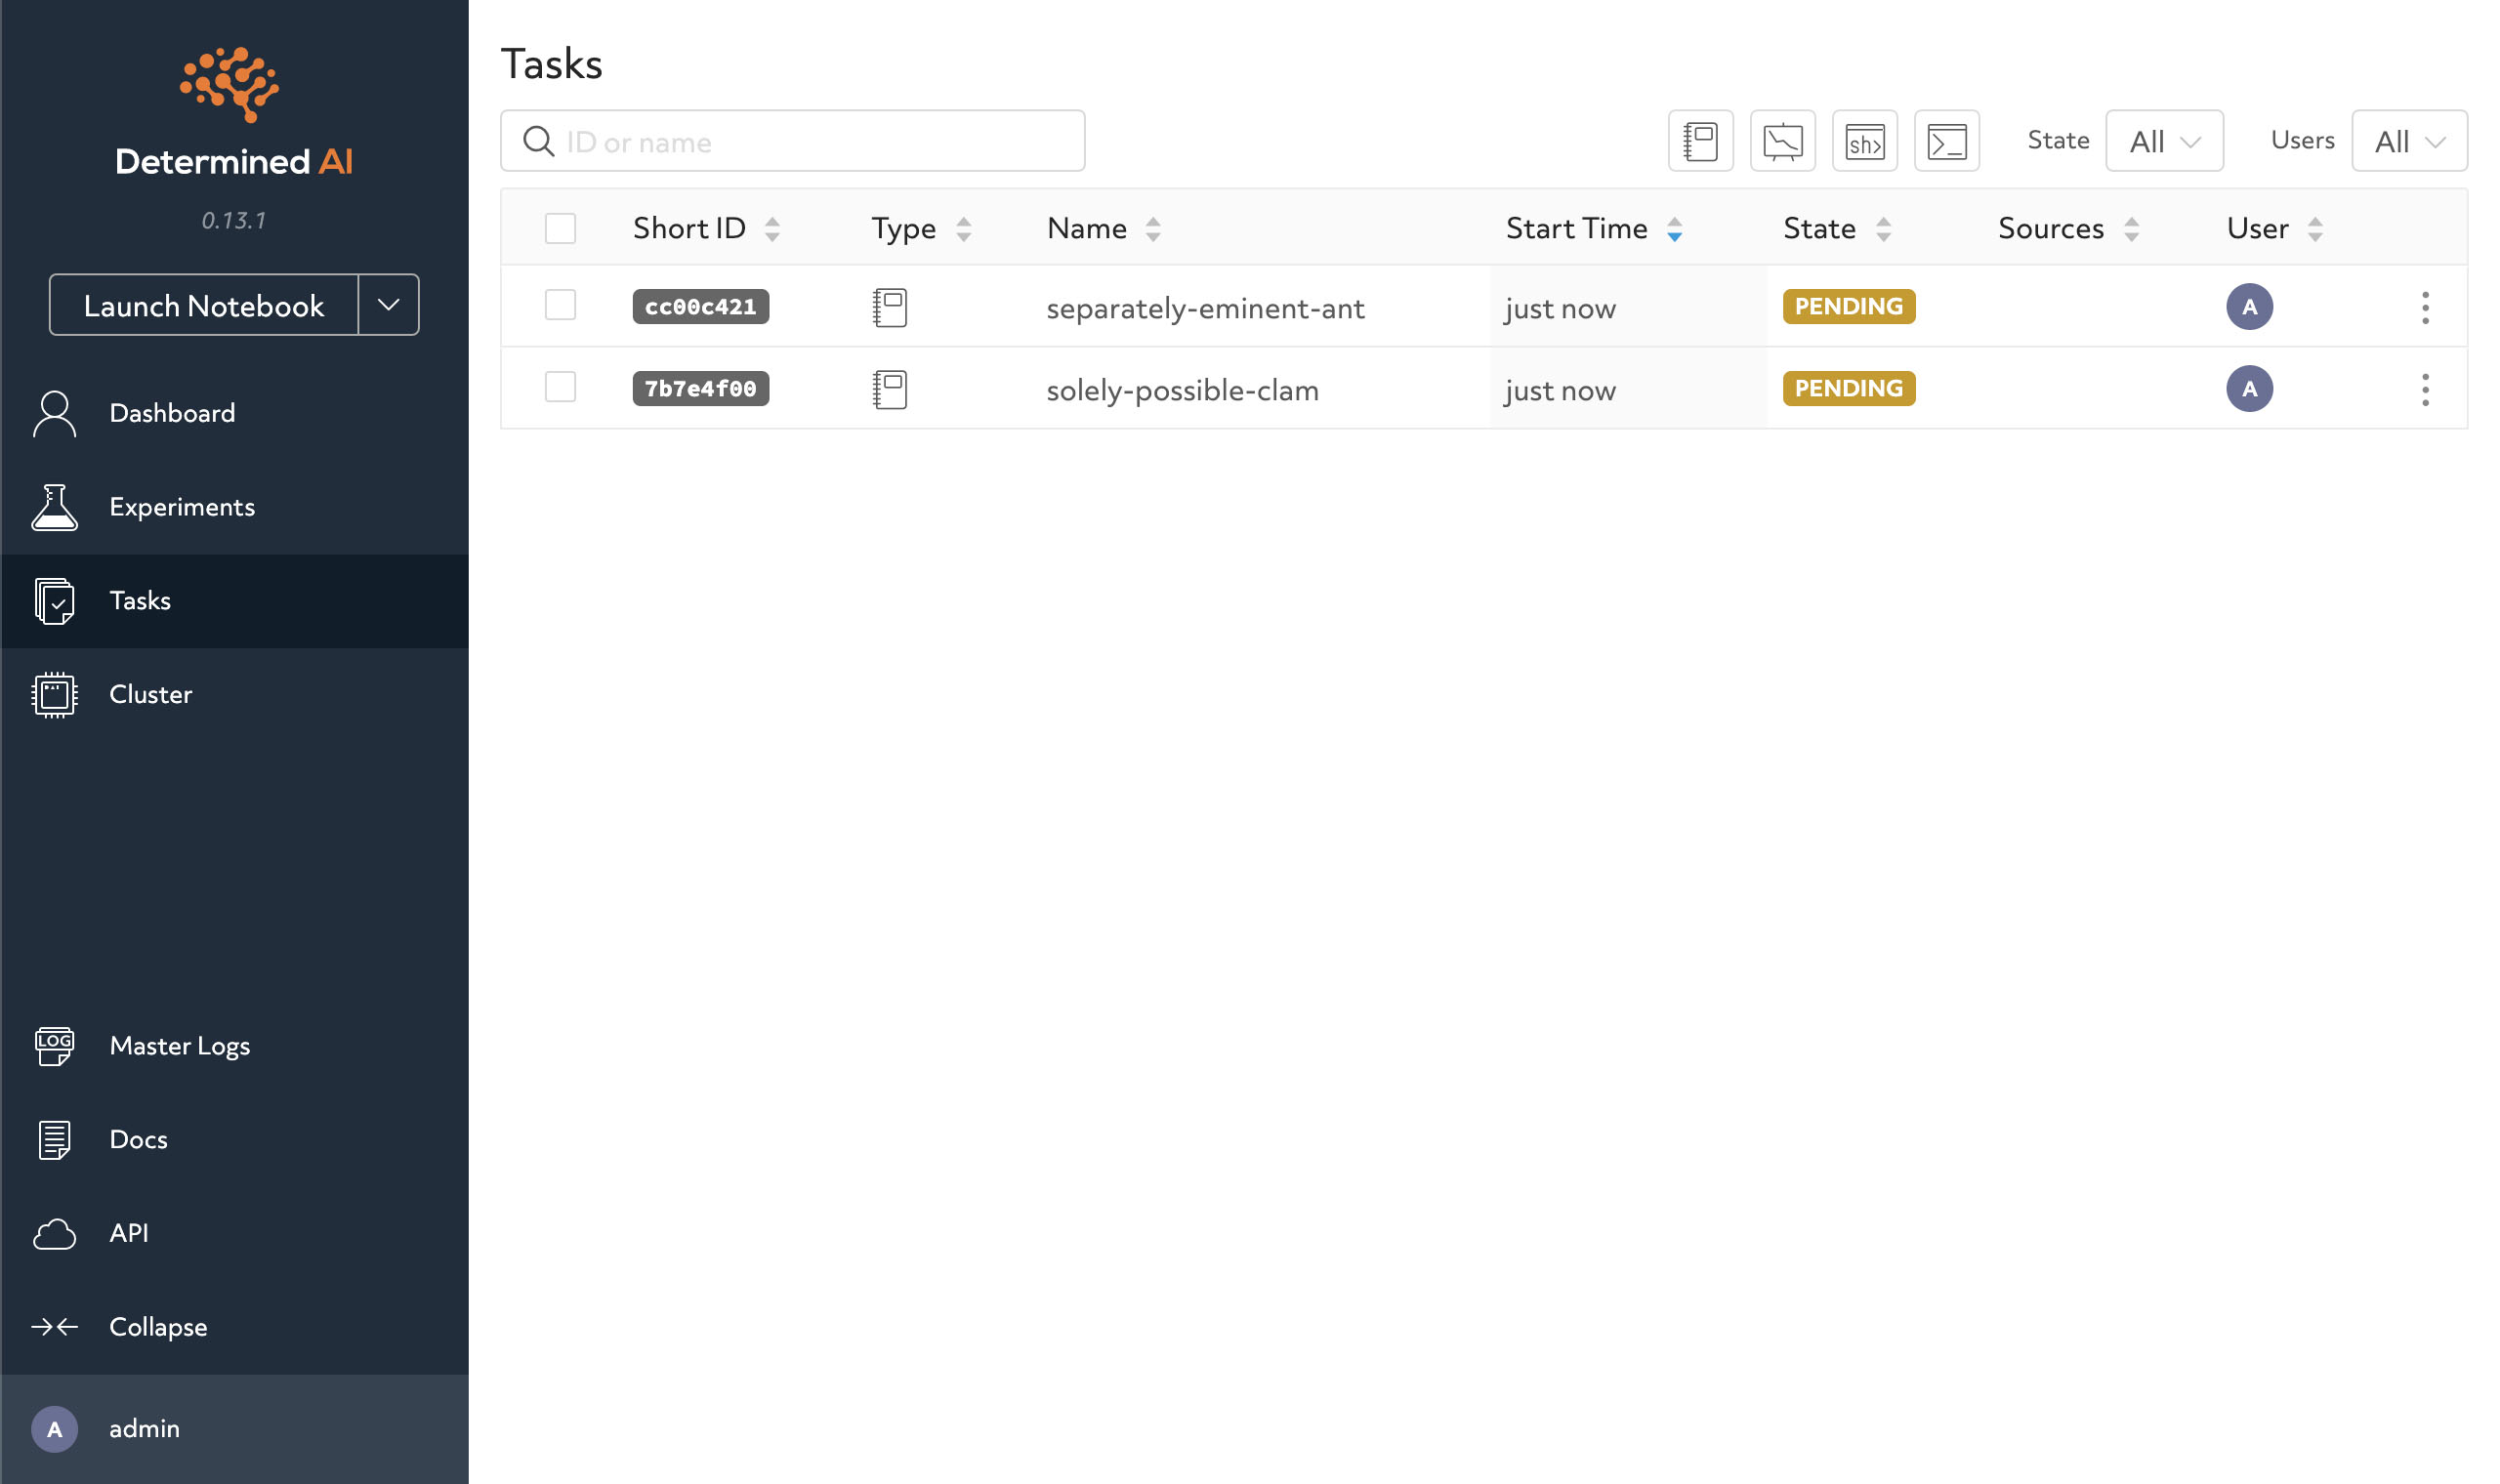
From here, you can find running notebooks. You can reopen, kill, or view logs for each notebook.
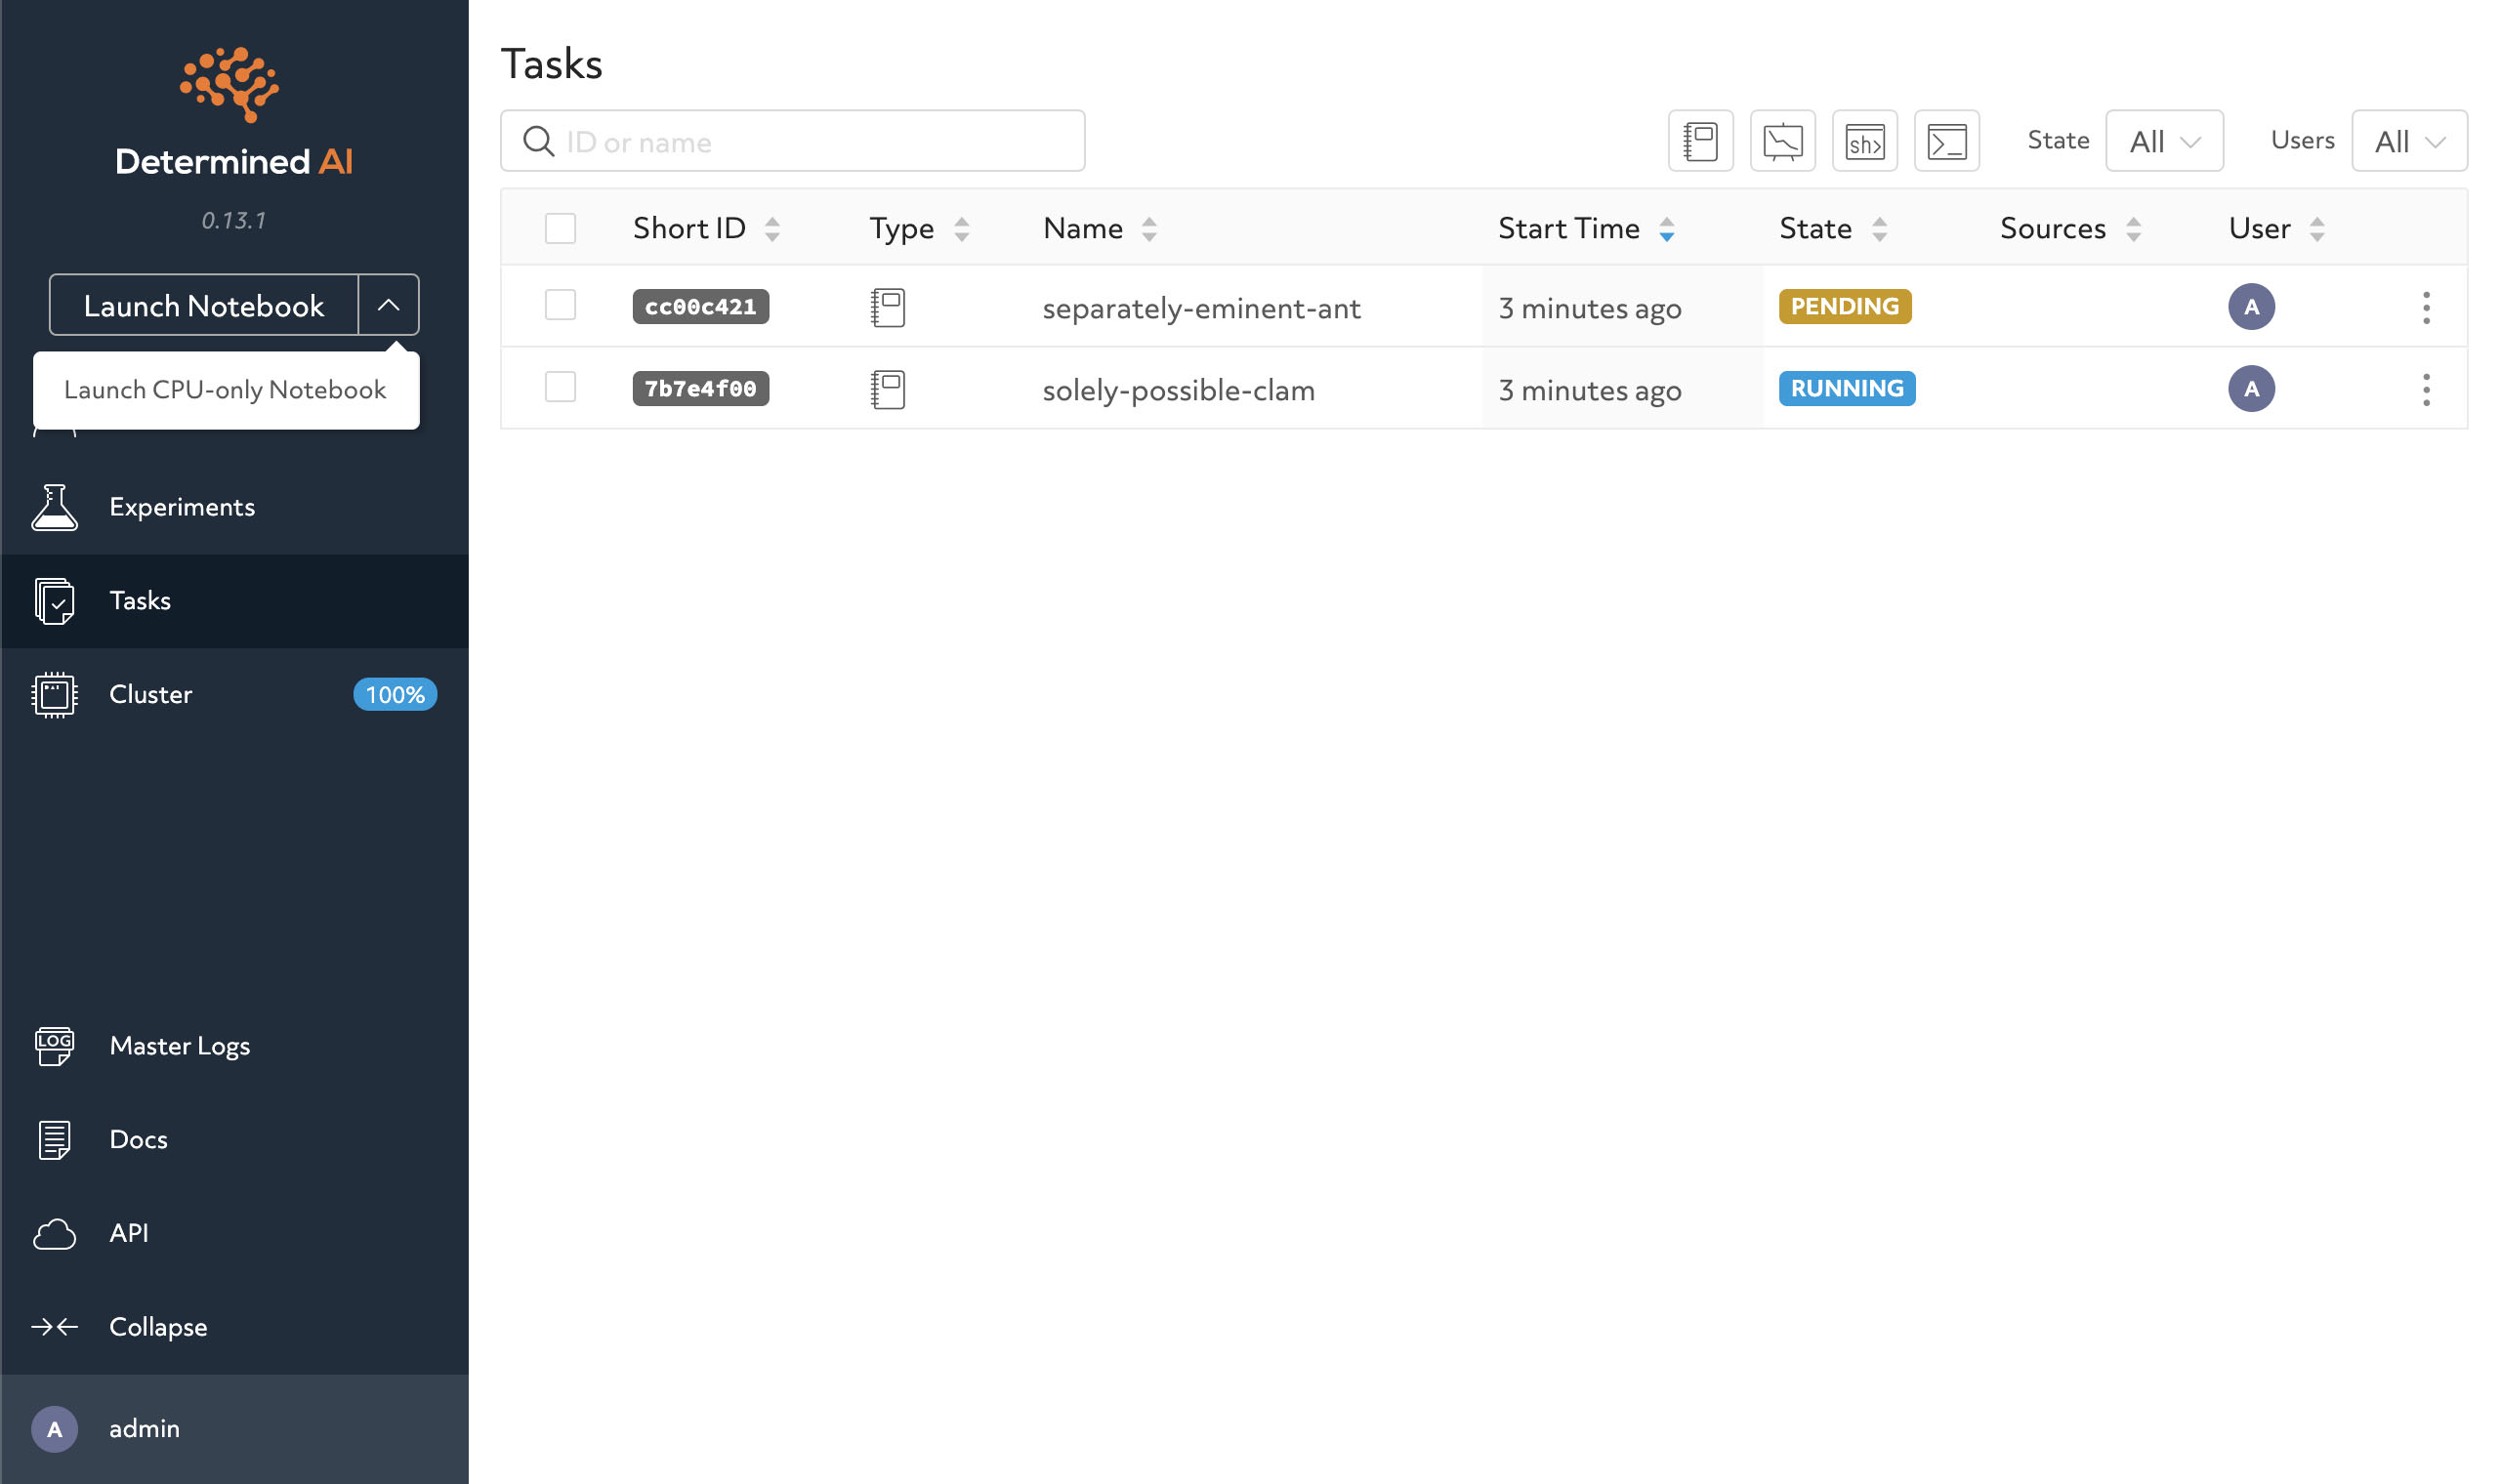
To create a new notebook, click “Launch Notebook”. If you would like to use a CPU-only notebook, click the dropdown arrow and select “Launch CPU-only Notebook”.
Notebook Configuration
Notebooks may be supplied an optional notebook configuration to control aspects of the notebook’s environment. For example, to launch a notebook that uses two GPUs:
$ det notebook start --config resources.slots=2
In addition to the --config flag, configuration may also be supplied via a YAML file
(--config-file):
$ cat > config.yaml <<EOL
description: test-notebook
resources:
  slots: 2
bind_mounts:
  - host_path: /data/notebook_scratch
    container_path: /scratch
idle_timeout: 30m
EOL
$ det notebook start --config-file config.yaml
See Determined Task Configuration for details on the supported configuration options.
Finally, to configure notebooks to run a predefined set of commands at startup, you can use a
startup hook along with the --context option:
$ mkdir my_context_dir
$ echo "pip3 install pandas" > my_context_dir/startup-hook.sh
$ det notebook start --context my_context_dir
Example: CPU-Only Notebooks
By default, each notebook is assigned a single GPU. This is appropriate for some uses of notebooks
(e.g., training a deep learning model) but unnecessary for other tasks (e.g., analyzing the training
metrics of a previously trained model). To launch a notebook that does not use any GPUs, set
resources.slots to 0:
$ det notebook start --config resources.slots=0
Saving and Restoring Notebook State
Warning
It is only possible to save and restore notebook state on Determined clusters that are configured with a shared filesystem available to all agents.
To ensure that your work is saved even if your notebook gets terminated, it is recommended to launch all notebooks with a shared filesystem directory bind-mounted into the notebook container and work on files inside of the bind mounted directory.
By default, clusters that are launched by det deploy aws/gcp up create a Network file system
that is shared by all the agents and automatically mounted into Notebook containers.
For example, a user jimmy with a shared filesystem home directory at /shared/home/jimmy
could use the following configuration to launch a notebook:
$ cat > config.yaml << EOL
bind_mounts:
  - host_path: /shared/home/jimmy
    container_path: /shared/home/jimmy
EOL
$ det notebook start --config-file config.yaml
To launch a notebook with det deploy local cluster-up, a user can add the --auto-bind-mount
flag, which mounts the user’s home directory into the task containers by default:
$ det deploy local cluster-up --auto-bind-mount="/shared/home/jimmy"
$ det notebook start
Working on a notebook file within the shared bind mounted directory will ensure that your code and
Jupyter checkpoints are saved on the shared filesystem rather than an ephemeral container
filesystem. If your notebook gets terminated, launching another notebook and loading the previous
notebook file will effectively restore the session of your previous notebook. To restore the full
notebook state (in addition to code), you can use Jupyter’s File > Revert to Checkpoint
functionality.
Note
By default, JupyterLab will take a checkpoint every 120 seconds in an .ipynb_checkpoints
folder in the same directory as the notebook file. To modify this setting, click on Settings
> Advanced Settings Editor and change the value of "autosaveInternal" under Document
Manager.
Using the Determined CLI in Notebooks
The Determined CLI is installed into notebook containers by default. This allows users to interact
with Determined from inside a notebook—e.g., to launch new deep learning workloads or examine the
metrics from an active or historical Determined experiment. For example, to list Determined
experiments from inside a notebook, run the notebook command !det experiment list.