Run Notebooks in Determined
Jupyter Notebook is software for interactive Python development. Notebooks are commonly used in the data science and machine learning life cycle. You can read more about Jupyter Notebooks on their homepage.
How to access Jupyter Notebooks
There are two ways to access notebooks in Determined: the command-line interface (CLI) and the WebUI. To install the CLI, see Install Determined CLI.
Command Line
The following command will automatically start a notebook with a single GPU and open it in your browser.
det notebook start
The --context option adds a folder or file to the notebook environment, allowing its contents to be accessed from within the notebook.
det notebook start --context folder/file
The --config-file option can be used to create a notebook with an environment specified by a configuration file.
det notebook start --config-file config.yaml
For more information on how to write the notebook configuration file, see Notebook Configuration.
Other Useful Commands
A full list of notebook commands can be found by running:
det notebook --help
To view all running notebooks:
det notebook list
To kill a notebook, you need its ID, which can be found using the list command.
det notebook kill <id>
WebUI
Notebooks can also be started from the WebUI by first going to the Determined home page. On the left-hand side, you can click the notebooks tab to take you to the notebooks page.
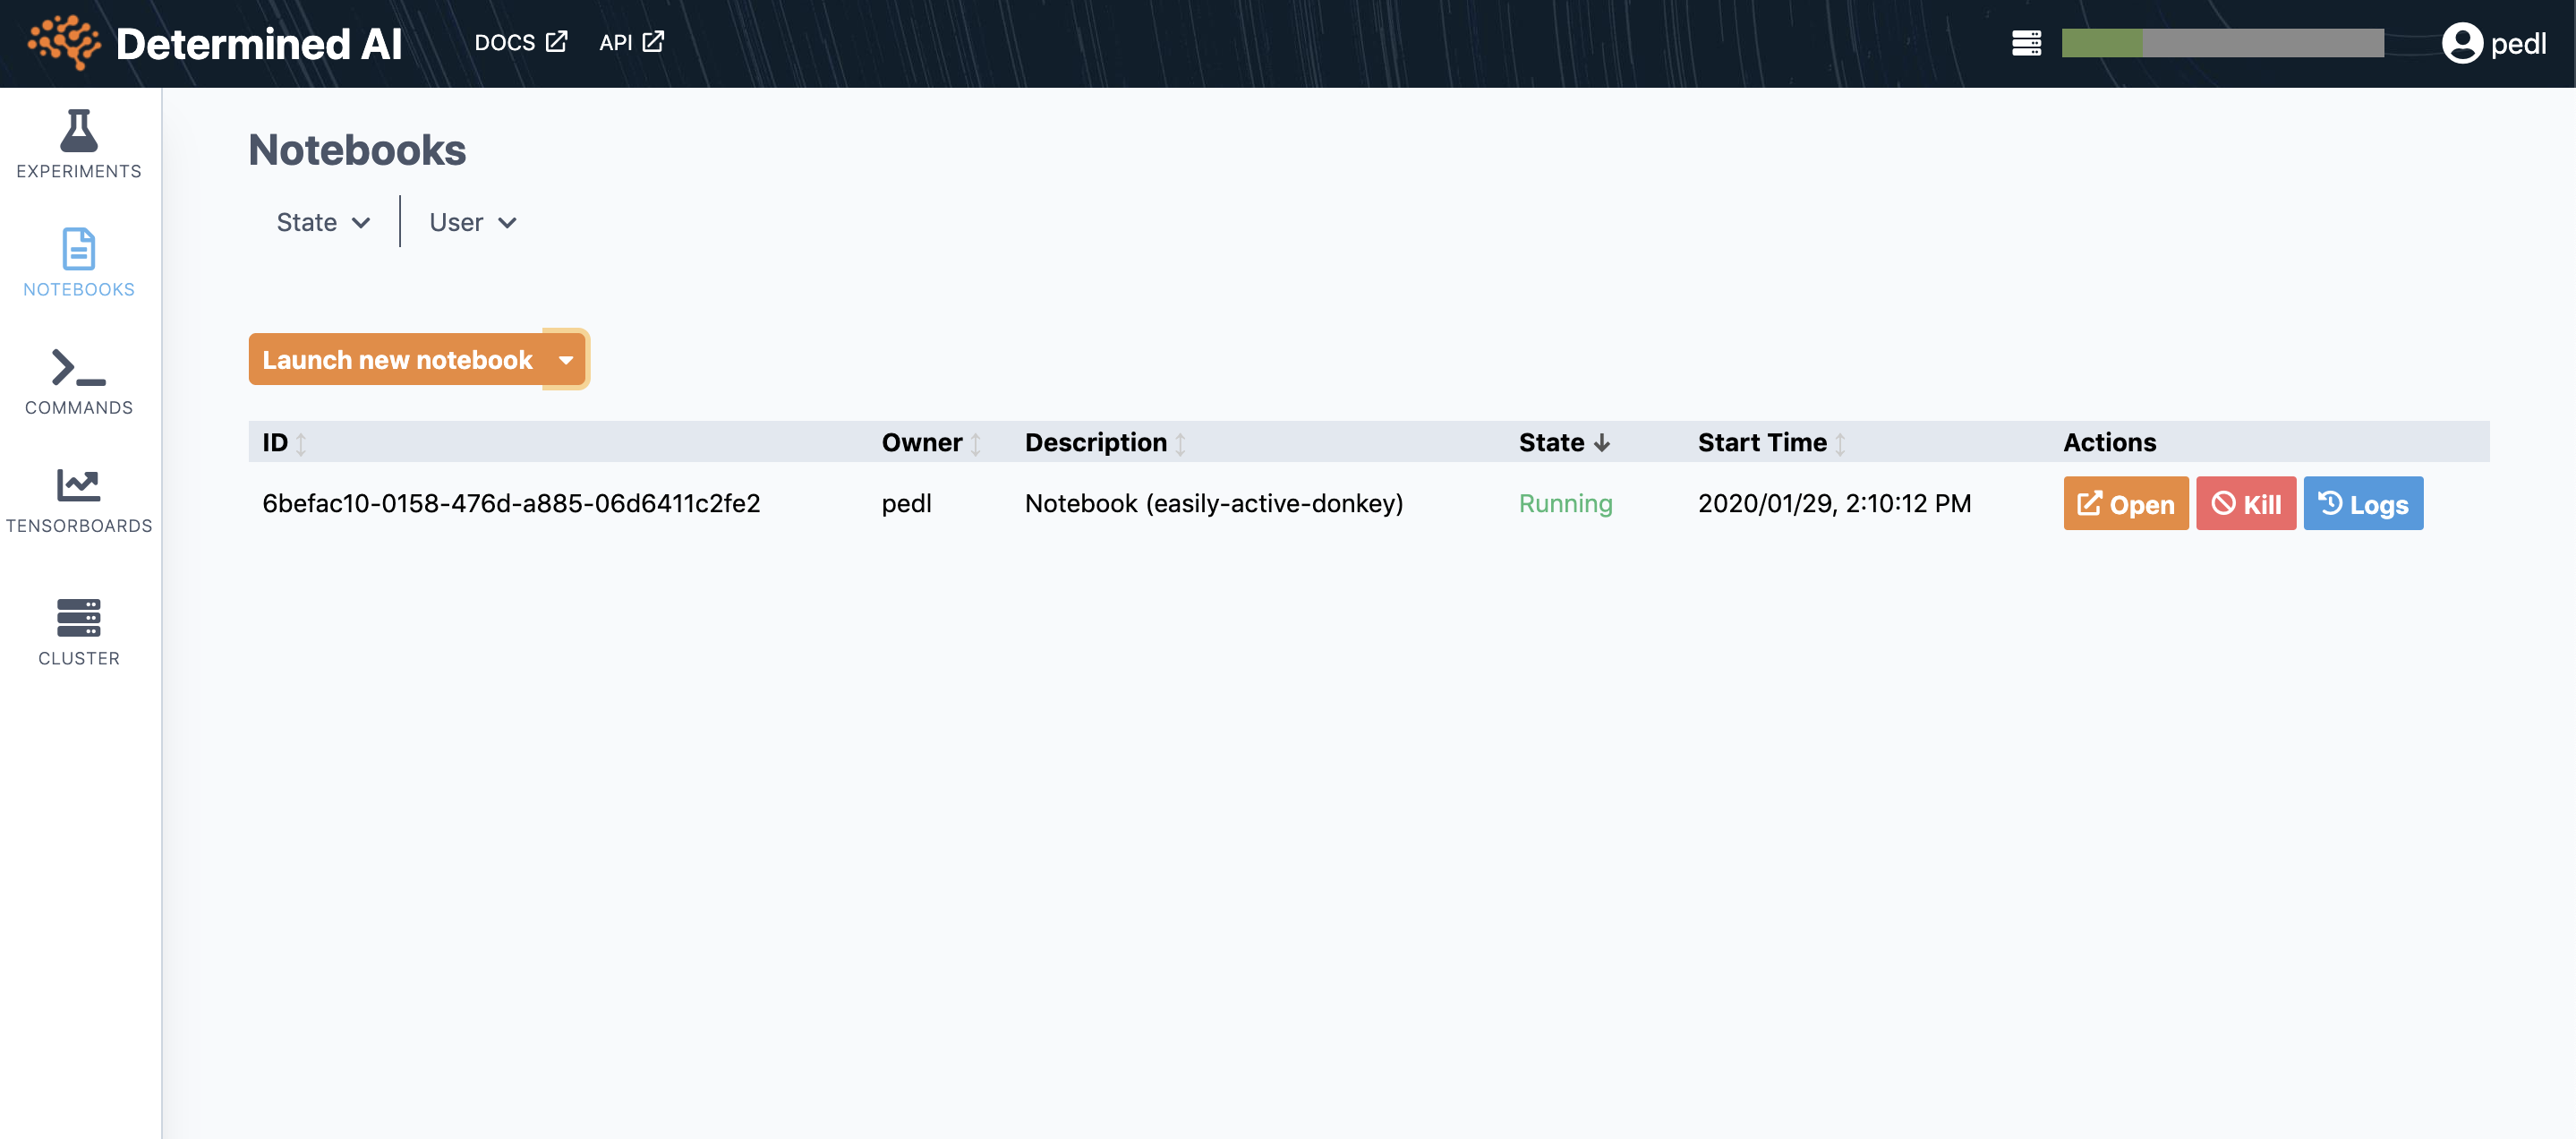
From here, you can find running notebooks. You can reopen, kill, or view logs for each notebook.
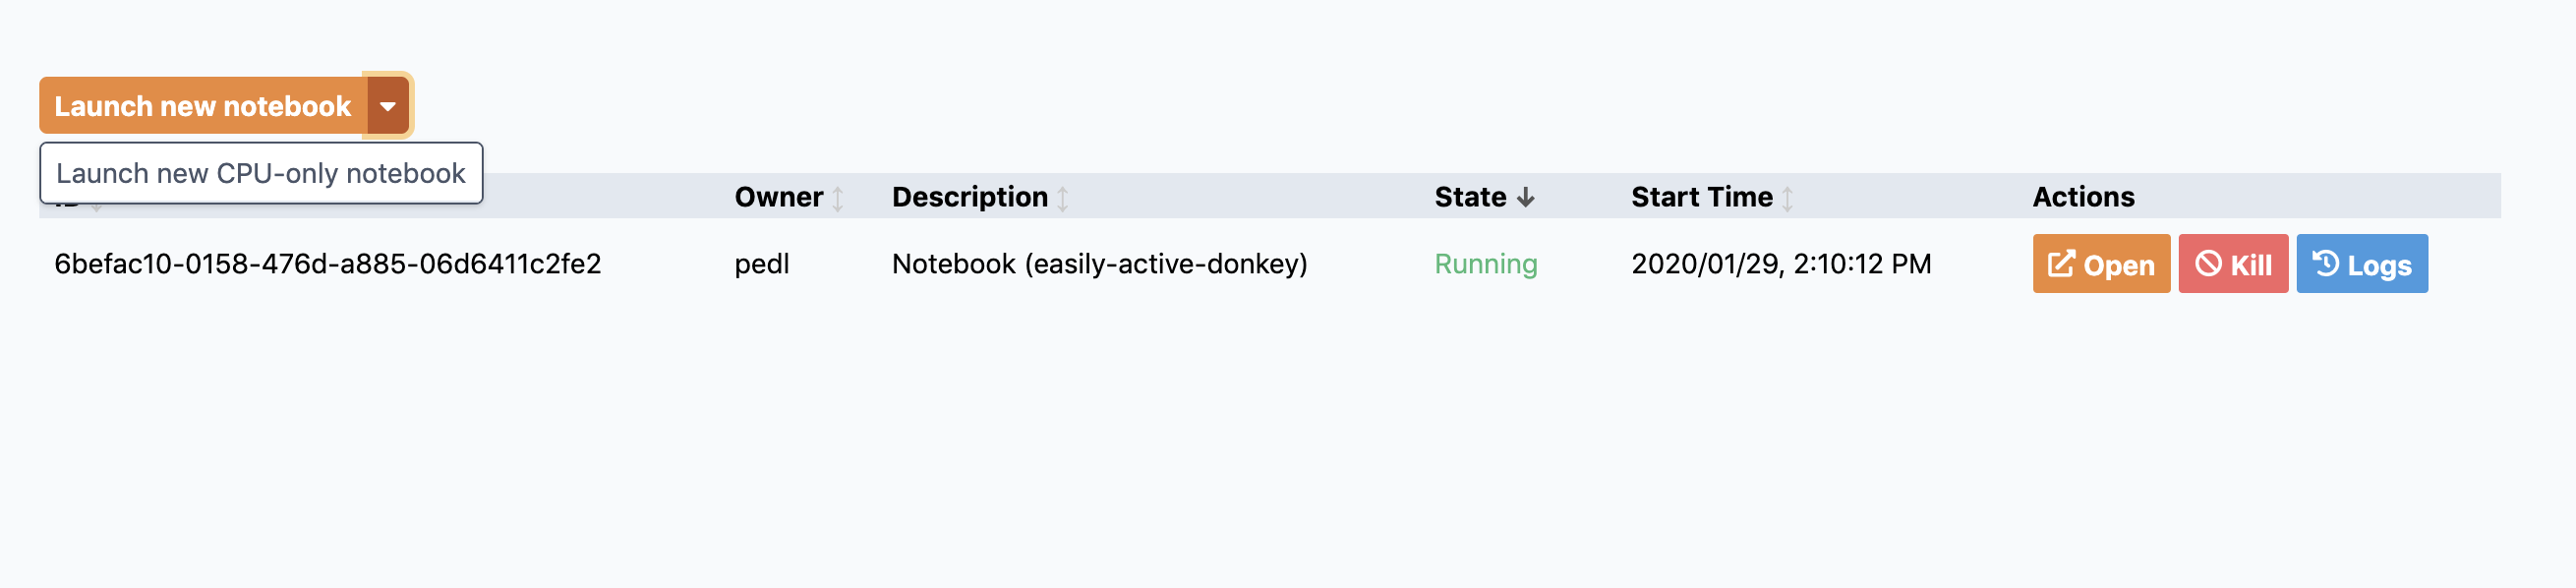
To create a new notebook, click “Launch new notebook”. If you would like to use a CPU-only notebook, click the dropdown arrow and select “Launch new CPU-only notebook”.